
Creating ultra resolution landscape wall art
Creating high-resolution landscape wall art through **photo stitching** of multi-row photographs is one of the most powerful techniques professional photographers use today to produce stunning, gallery-quality prints that can span several meters while revealing incredible detail—even down to individual rocks, distant trees, or cloud textures.
This method, often called **multi-row panorama stitching** or **gigapixel photography**, goes far beyond a simple horizontal panorama. Instead of capturing just one row of overlapping images, photographers shoot a **grid** of photos (multiple rows and columns), as beautifully illustrated in the grid pattern you shared. The result? Final images that can easily reach **hundreds of megapixels to several gigapixels**, perfect for massive wall art that looks sharp up close.
Here’s a complete overview of how professionals create these masterpieces, from field capture to the final print :
Planning and Shooting the Multi-Row Grid in the Field
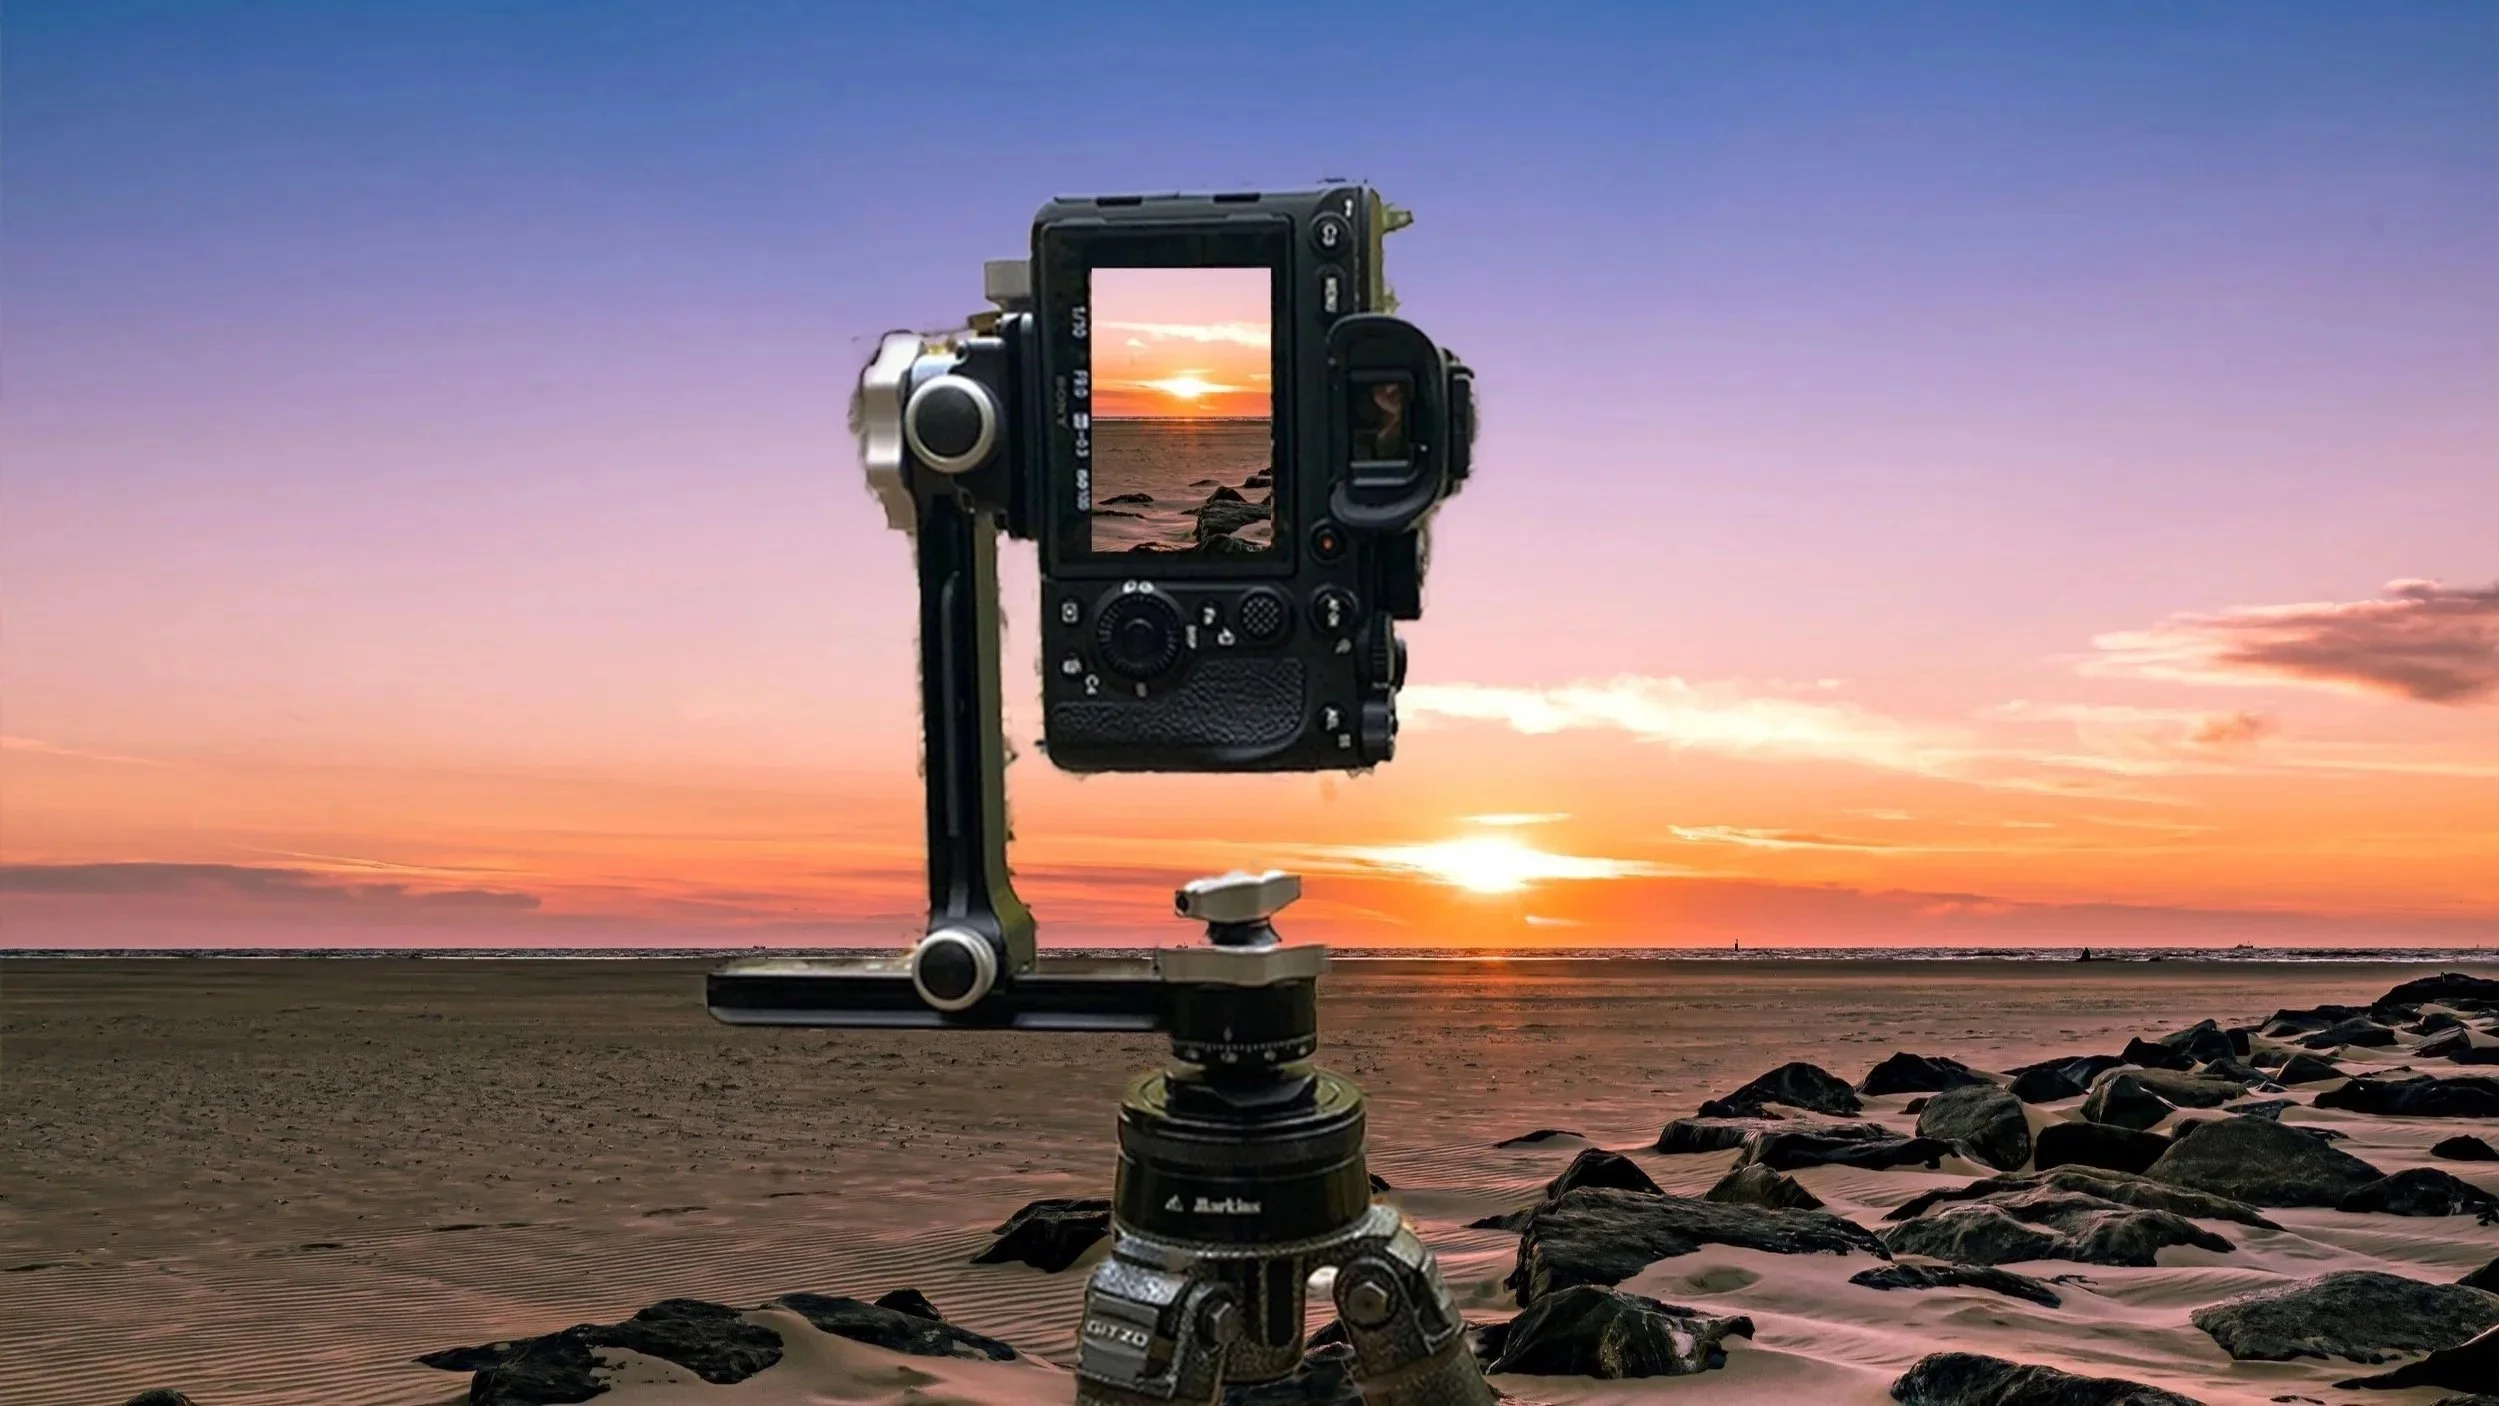
The foundation of success lies in precise capture. Professionals use a sturdy **tripod** equipped with a **special panoramic head** (like a Nodal Ninja or custom gimbal rig) to eliminate parallax errors—the misalignment that occurs when the camera doesn't rotate around its **nodal point** (the no-parallax point of the lens).
Here are some real-world examples of the gear and setup professionals rely on:
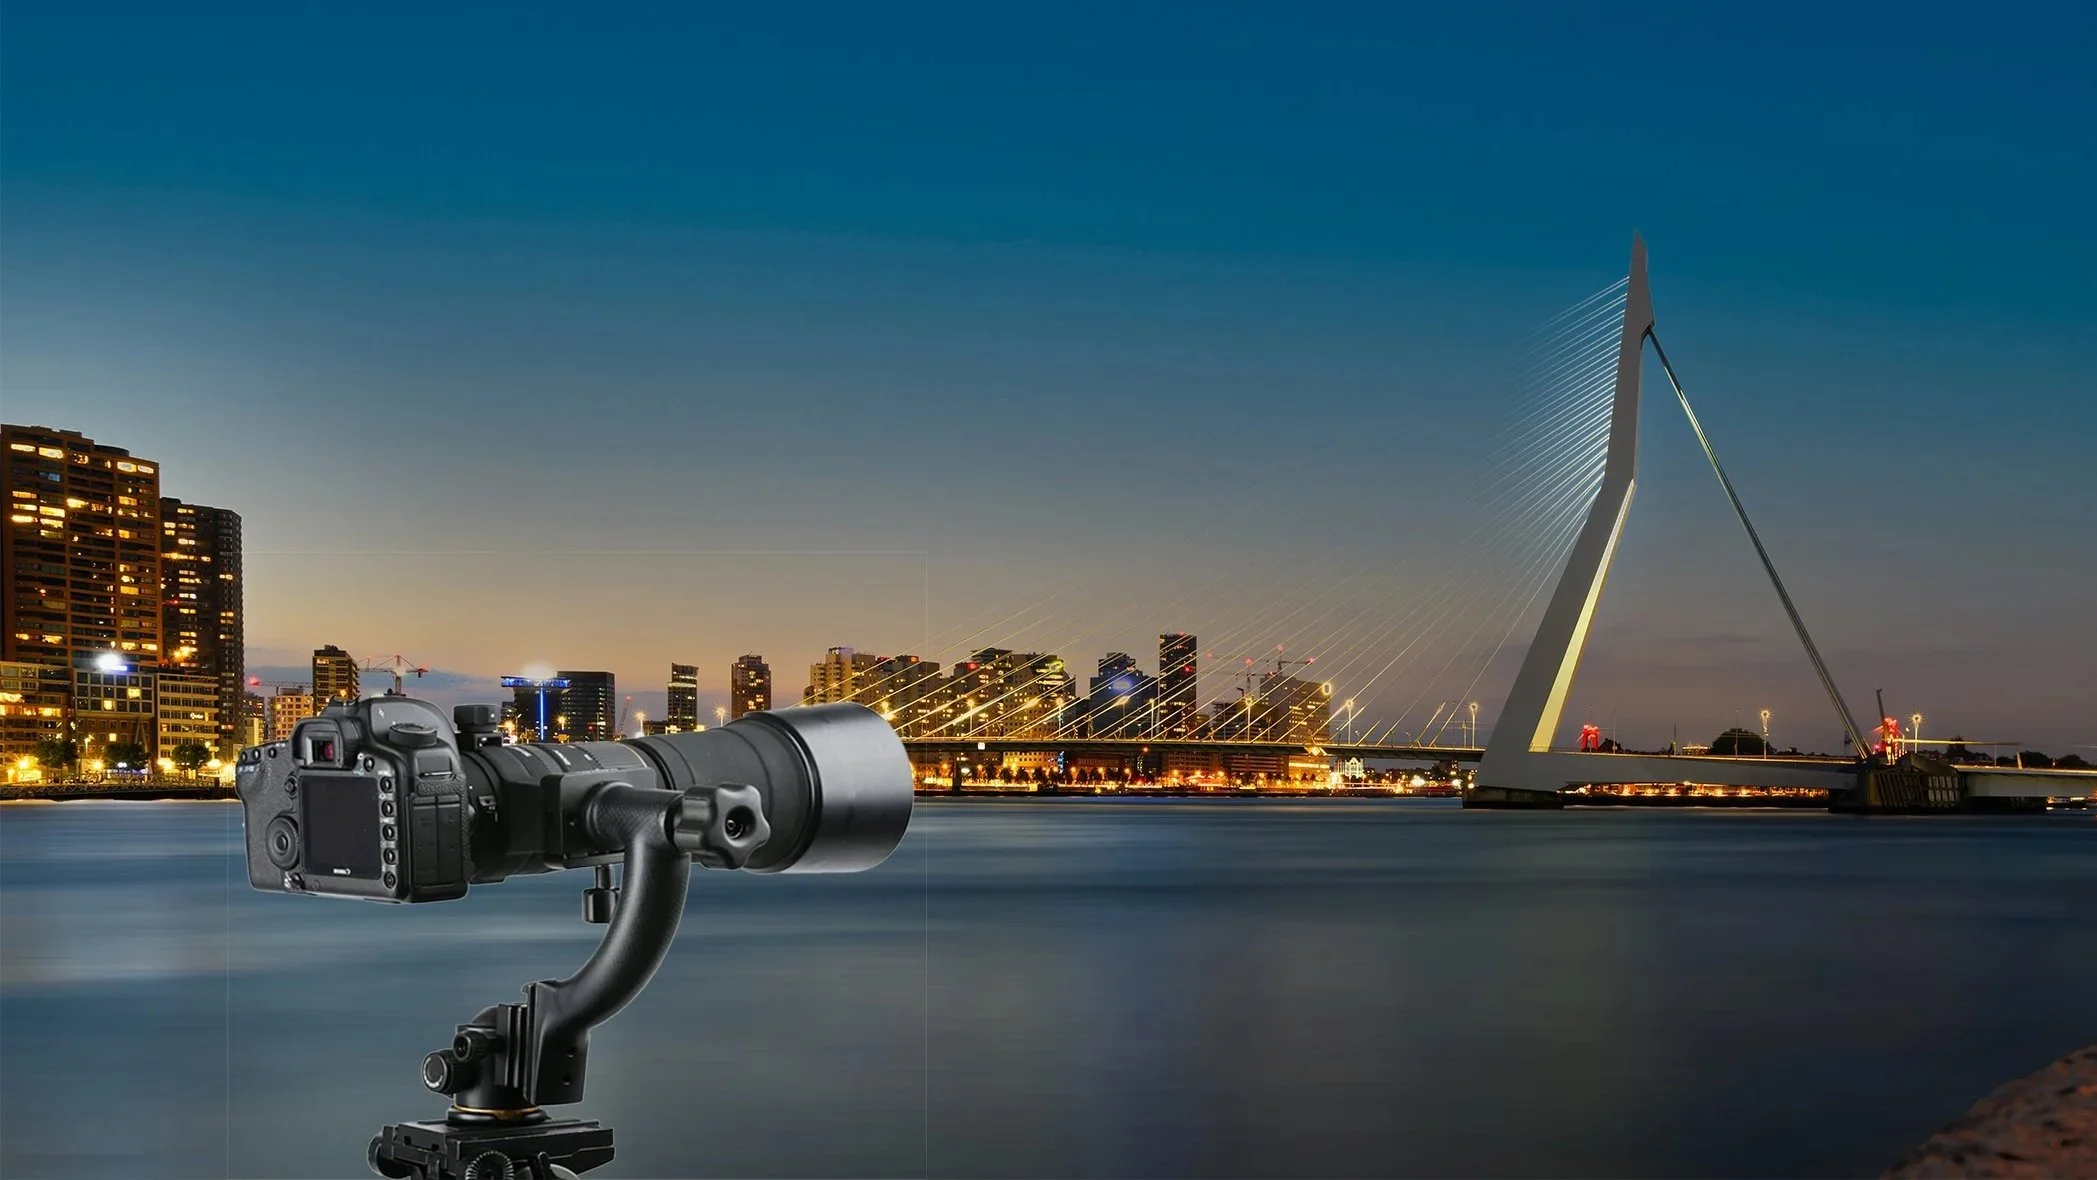
They choose a **longer focal length** (often 70–300mm or more) rather than wide-angle lenses. This reduces distortion, improves corner sharpness, and allows for higher overall resolution when stitched.
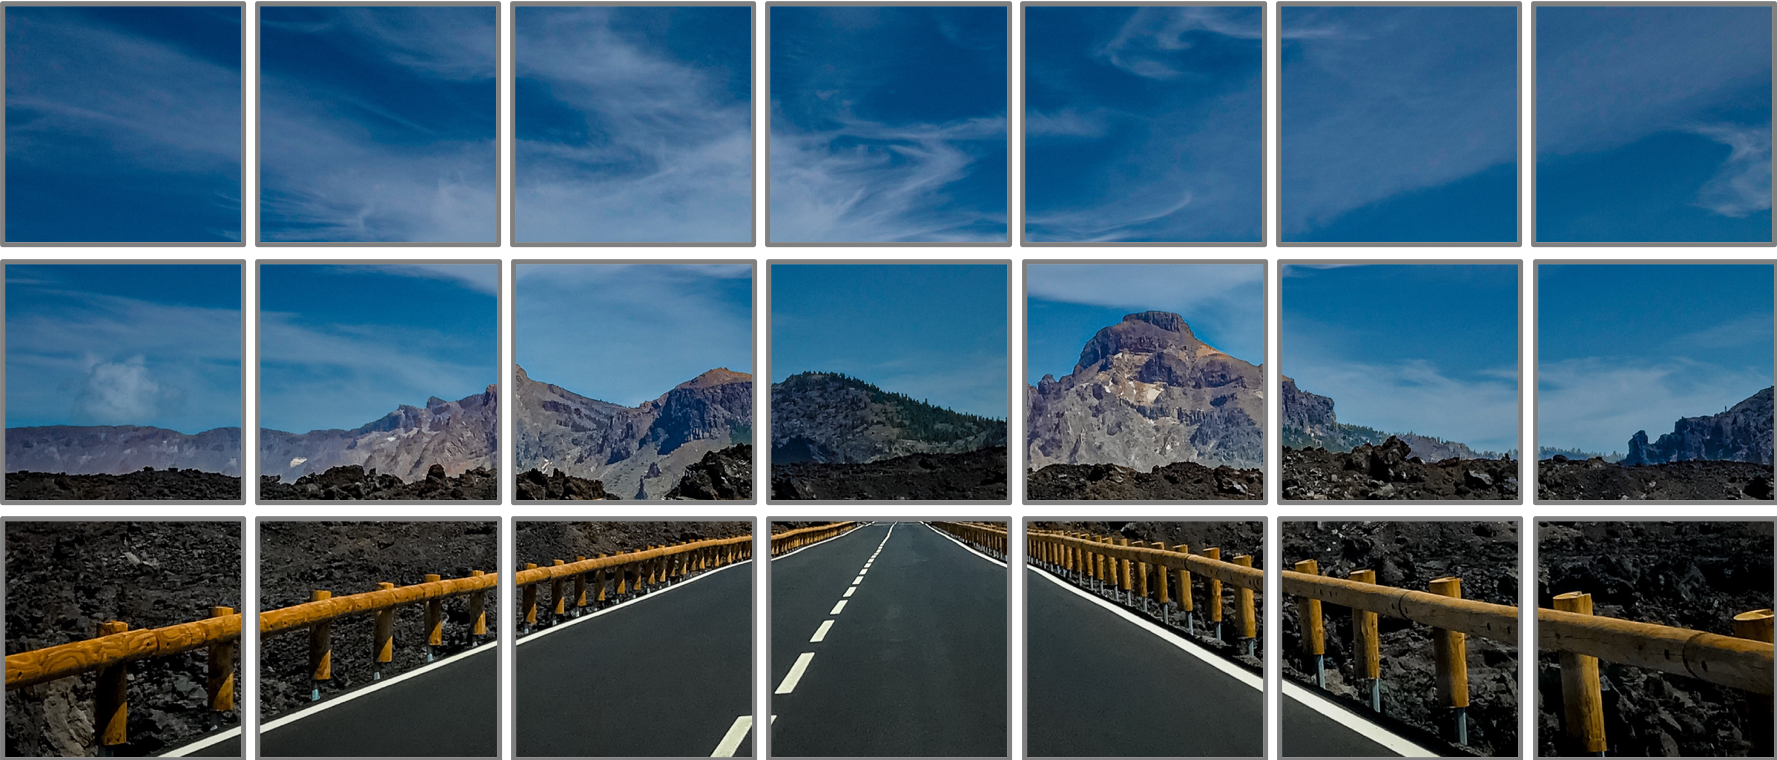
The scene is captured as a **grid** (e.g., 5–12 rows × 8–20 columns), with **30–50% overlap** between adjacent photos both horizontally and vertically. Photographers often shoot in a zigzag or row-by-row pattern to keep the camera level.
Here’s a visual breakdown of how the overlapping grid looks before stitching:
Key shooting tips:
- Manual exposure mode for consistent brightness across all frames
- Low ISO, optimal aperture (f/8–f/11) for sharpness
- Manual focus locked (or focus stacking in some cases)
- Extra shots around the edges for safe cropping
Stitching the Images into a Gigapixel Masterpiece
Once back home (or in the field with a laptop), the dozens or hundreds of RAW files are imported into specialized stitching software. Popular professional choices include **PTGui Pro**, Photoshop's Photomerge, or Hugin.
PTGui is especially favored for complex multi-row landscapes because it handles huge projects (gigapixel outputs) with excellent control over alignment, lens distortion correction, and blending.
The software automatically detects overlaps, warps the images to fit perfectly, and blends seams invisibly—even in tricky areas like clouds, trees, or lava fields like in your example. Advanced users fine-tune control points, choose projections (e.g., rectilinear for natural-looking landscapes), and export a massive TIFF or PSD file.
Post-Processing and Final Preparation for Wall Art
After stitching, the enormous file undergoes careful editing in Lightroom or Photoshop:
- Global adjustments (exposure, contrast, color grading)
- Local enhancements (dodging/burning, sharpening)
- Noise reduction and detail enhancement
For ultra-large prints, many photographers use **AI upscaling tools** like Topaz Gigapixel AI to push resolution even further while preserving or enhancing fine details.
The result is breathtaking wall art that captures the grandeur of epic landscapes—like volcanic roads, mountain ranges, or coastal vistas—with museum-level detail.
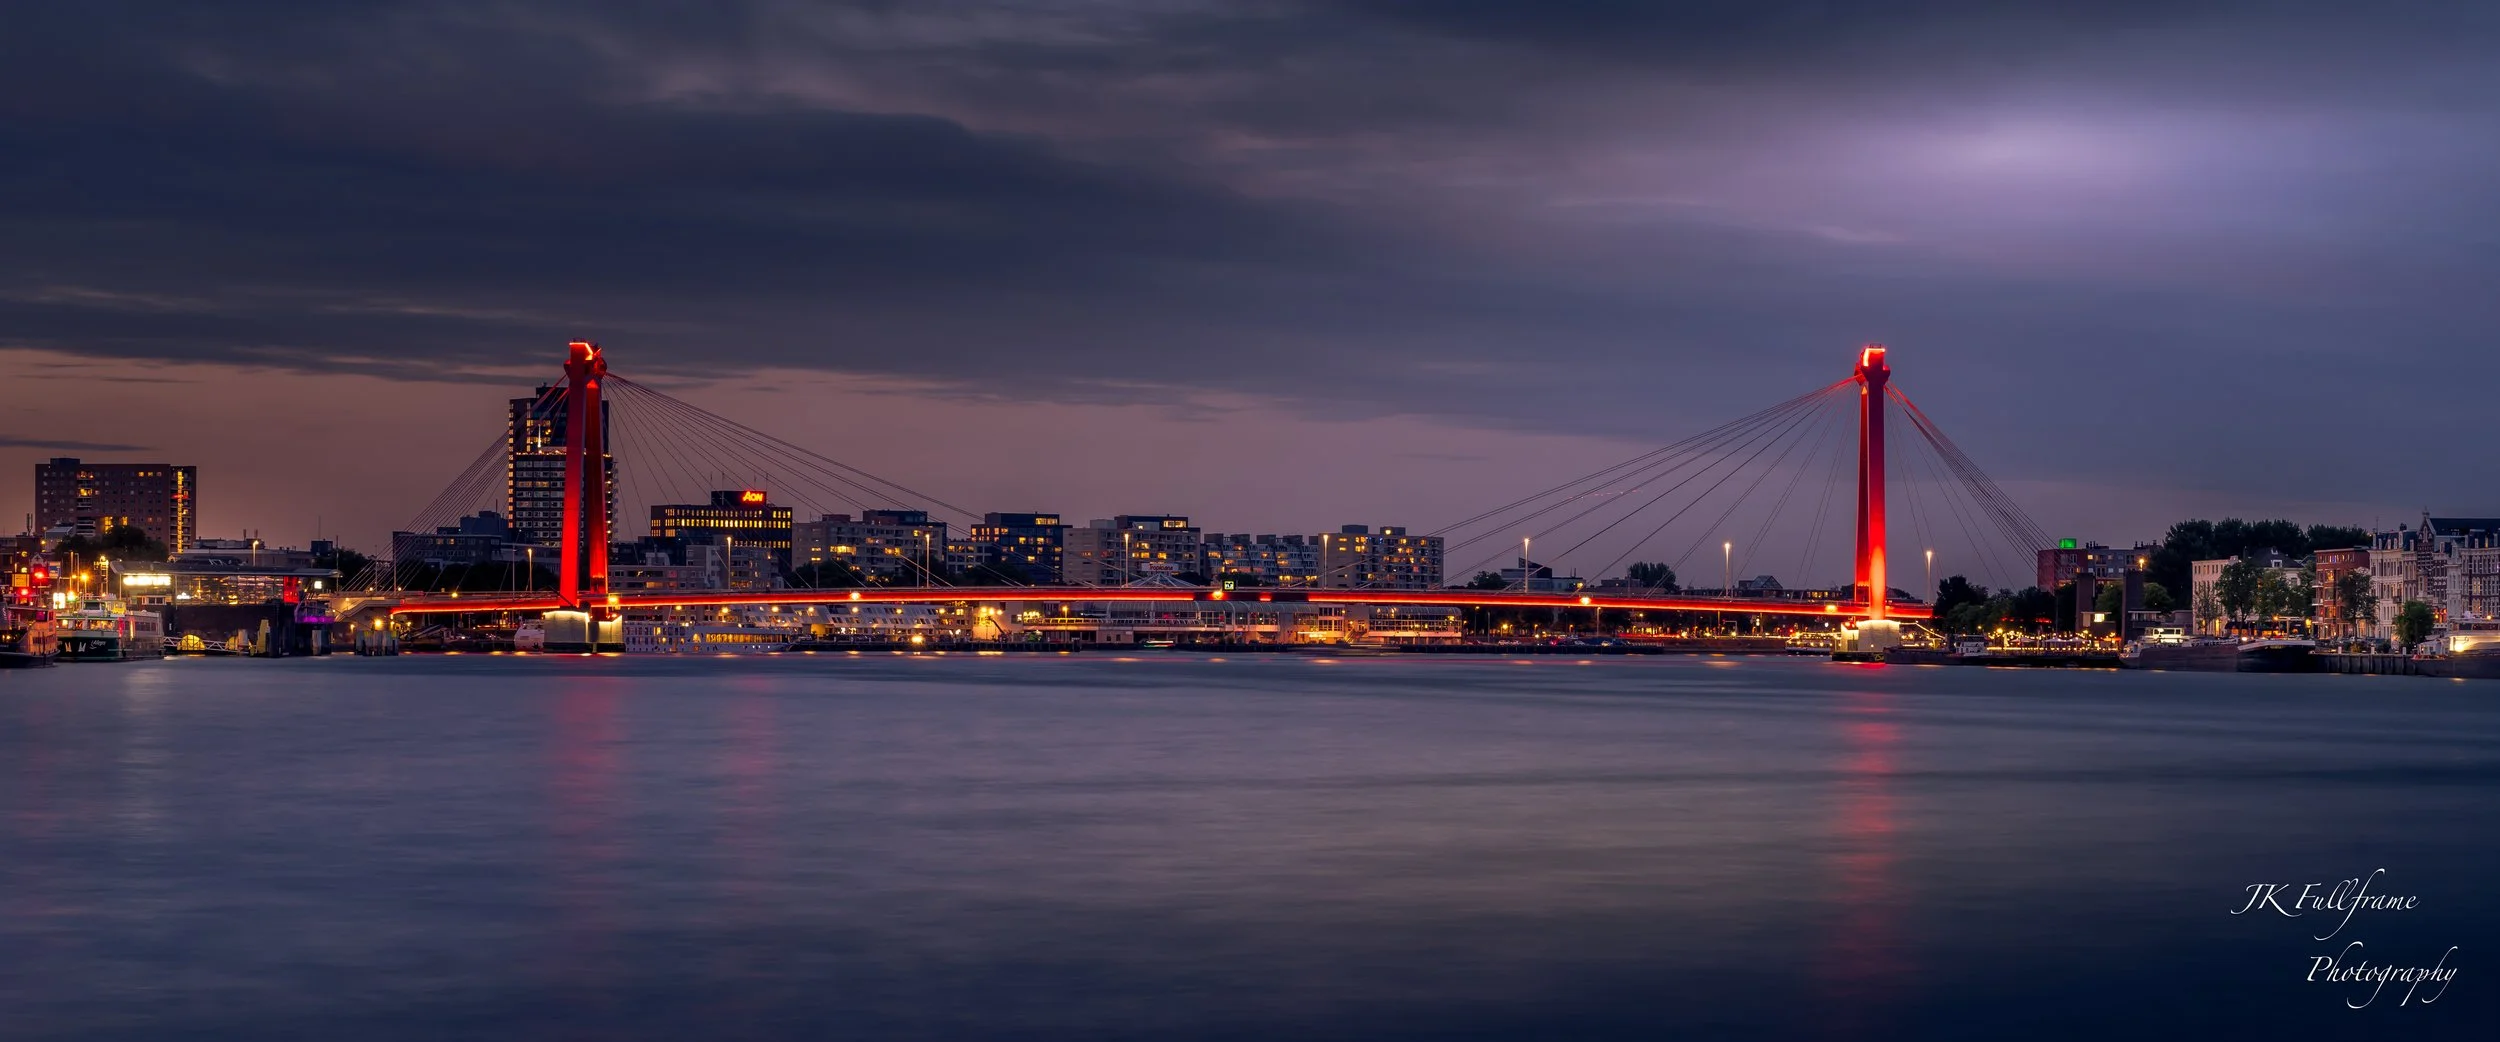
Here are inspiring examples of finished gigapixel-style landscape prints and stitched masterpieces:
Why This Technique Excels for Wall Art
A single high-end camera might deliver 50–100 megapixels, but multi-row stitching routinely produces **500 megapixels to 5+ gigapixels**. When printed at 300 DPI, these files support wall-sized art (e.g., 2×4 meters or larger) without losing sharpness—ideal for galleries, homes, or offices.
Your attached grid perfectly shows the classic multi-row approach used by pros to transform ordinary landscapes into extraordinary, immersive wall art that invites viewers to step closer and explore every detail. With practice, patience, and the right tools, anyone can create these jaw-dropping pieces!